Building Custom 24″ Base Cabinets: DIY Kitchen Cabinet Project
🔨 Making Our Own Kitchen Cabinets
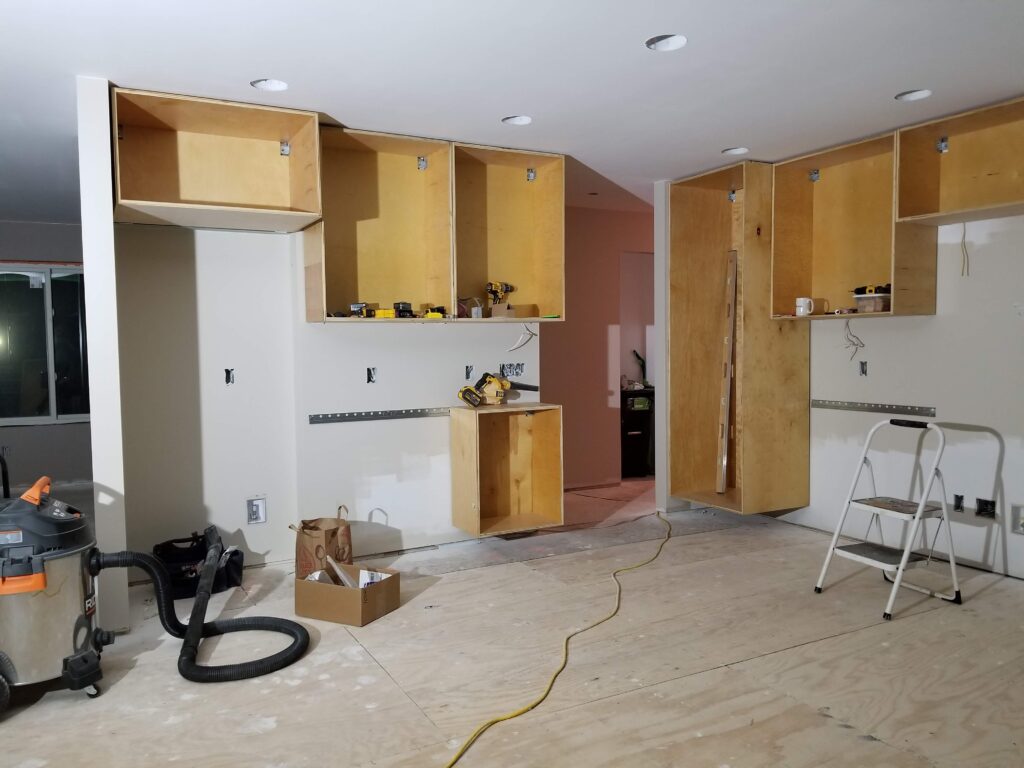
We officially kicked off our DIY kitchen cabinet project! Instead of buying pre-made cabinets, we decided to build our own wooden cabinets, using IKEA cabinets as templates. If you’re wondering why we took this route, check out our post on why we chose to build our own cabinets here.
Building an IKEA kitchen is surprisingly simple—each cabinet hangs on a rail system, and the adjustable legs make leveling easy. We wanted to take advantage of these features in our custom design. Since this was our first time making cabinets, starting with a proven template seemed like a smart move. While it took some extra time to create templates in the beginning, it’ll be worth it in the long run.
To start small, we purchased IKEA cabinet kits to use as our template set. These won’t go to waste—we’ll be repurposing them in our laundry room later. We also picked up a few door fronts to use as guides for sizing.
The first cabinet we tackled? A 24-inch base cabinet—one of seven base cabinets in our kitchen design.
Step 1: Creating the Templates 🏗️
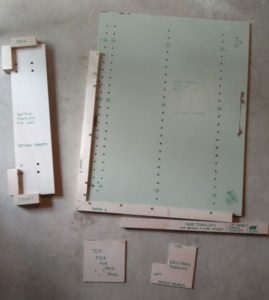
Since accuracy is everything in cabinet making, we made templates for:
✔️ Drill hole locations for legs
✔️ Drawer slider placements
✔️ Dado slots for the back panel
✔️ Cabinet hanging hardware
Here’s how we made each template:
🔹 Leg Placement Template
We created a jig around the bottom panel to ensure correct depth and hole placement for the cabinet legs. Using an appropriately sized drill bit, we drilled through the existing IKEA holes into our template.
🚀 Pro Tip: Label everything—top, bottom, back, front—so you don’t mix up the pieces!
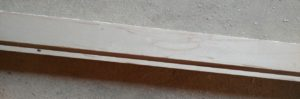
🔹 Dado Slot Template for Back Panel
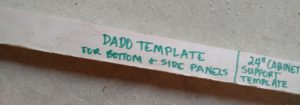
We wanted perfectly consistent dado slots for the back panel, so we built a dado template to set:
- Saw blade height
- Fence distance
- Slot width (¼” thick to match the panel)
Using a combination square with a stop, we measured the exact dado depth from an IKEA side panel. Then, we made small incremental cuts until the back panel slid in snugly—but not too tight.
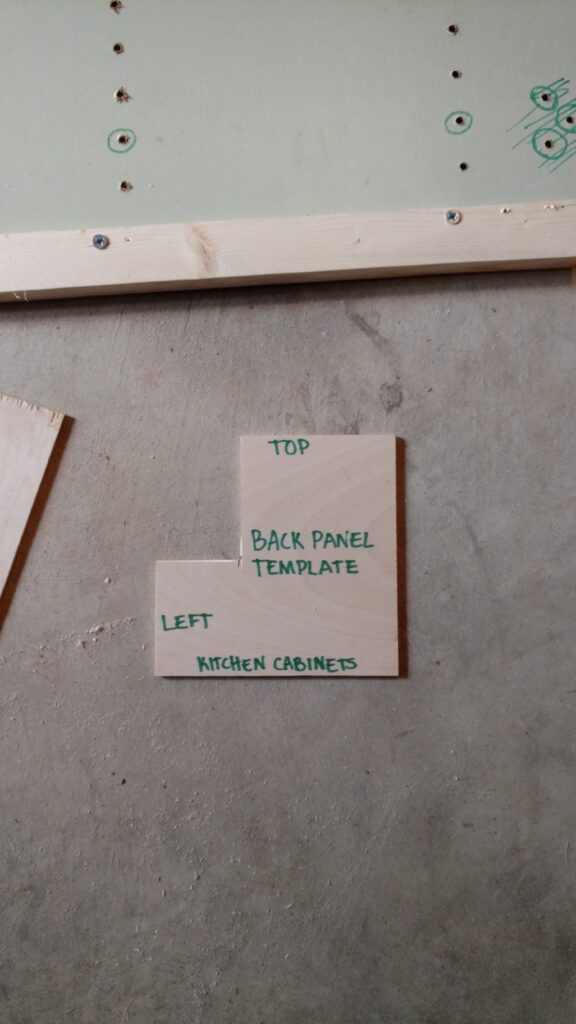
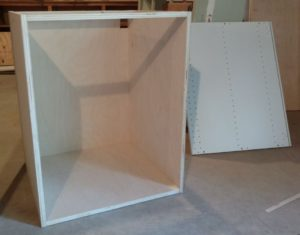
🔹 Back Panel Cutout Template
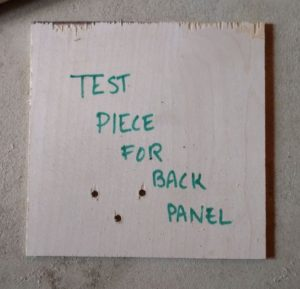
We also made a template for the back panel cutout, which allows the cabinet to hang on the IKEA rail system. Since perfect accuracy wasn’t needed for this, a simple template was enough.
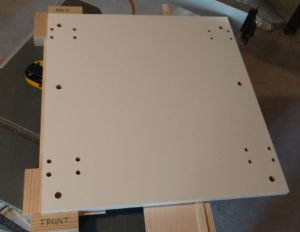
🔹 Drawer Slider Hole Template
We pre-drilled every hole on the template, but when drilling the actual cabinet, we only drilled the necessary holes for each layout.
🚀 Pro Tip: Use colored markers to differentiate between a 3-drawer vs. 4-drawer cabinet hole pattern!
🔩 Final Template Tip: Use drill stoppers to get consistent hole depths.
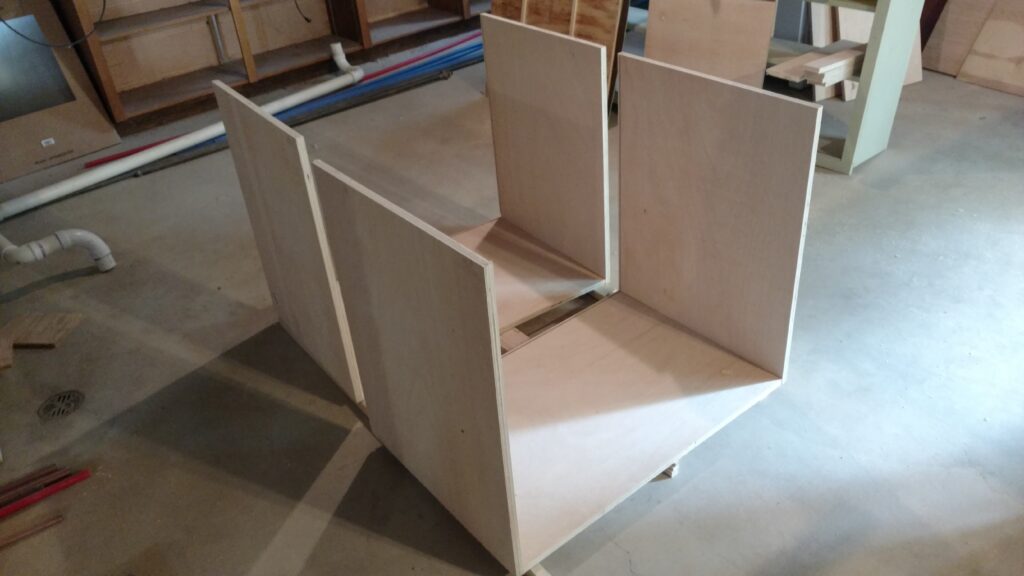
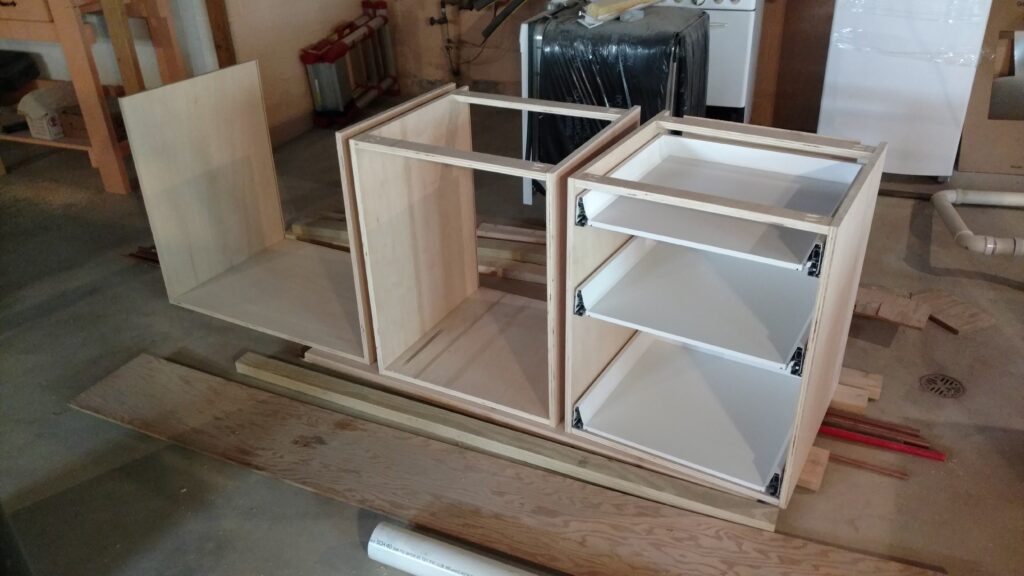
Step 2: Assembling the 24″ Base Cabinet 🏠
We took precise measurements from the IKEA cabinets—down to 1/16th of an inch—to ensure accuracy throughout our kitchen build.
📐 Cut List for a 24” Base Cabinet
(Depth (d) and height (h) measurements remain the same across all base cabinets)
- 2 Side Panels: 23 9/16″ d × 30″ h
- 1 Bottom Panel: 23 9/16″ d × 22 1/2″ w
- 1 Back Panel: 23 3/8″ w × 30″ h
- 2 Top Supports: 22 1/2″ w × 3″ d (made from scrap, depth is flexible but must be ≥2 1/2″)
🚀 Tip: We cut each panel to size using a table saw.
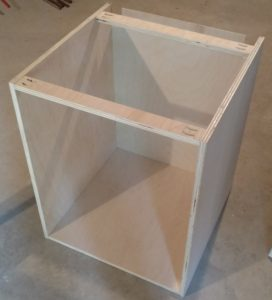
🔩 Assembly Process
1️⃣ Cut Dado Slots into the side and bottom panels for the back panel to slide into.
2️⃣ Drill Pocket Holes using a Kreg pocket hole jig:
- 6 holes on each side of the bottom panel
- 2 holes on each side of the top supports
3️⃣ Glue & Screw Together: - Insert the ¼” plywood back panel into the dado slot while assembling to ensure proper alignment.
- Secure the side panels to the bottom panel with screws.
4️⃣ Slide in the Back Panel before securing the top supports. This makes installation easier.
5️⃣ Attach the Top Supports with pocket screws.
6️⃣ Final Check: Make sure all dado slots align properly before tightening everything.
Final Thoughts ✨
With the first 24” base cabinet built, we’re ready to move forward with the rest! These cabinets are sturdy, custom-built, and match our kitchen design perfectly.
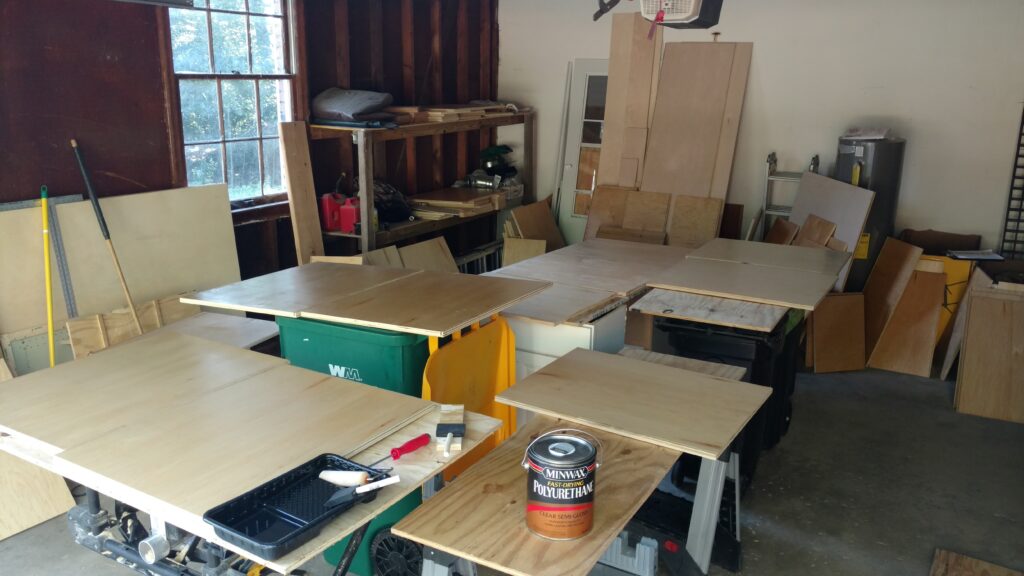
✅ Next Steps:
👉 Sanding, staining, and finishing all the wood panels.
👉 We’ll be assembling the rest of our base cabinets—stay tuned!
👉 Want to see how we made cabinet doors? Check out this tutorial.
🏡 Follow along for more DIY home projects! Let us know in the comments: Would you ever build your own cabinets?
🚀 Happy DIY-ing!