Mission: DIY > Projects > For the Home > Ikea Hack: Under Cabinet Drawers by Mission:DIY
Ikea Hack: Under Cabinet Drawers
When designing the kitchen I used the IKEA kitchen planner for my house before Russ and I met. I knew I needed to make use of every square inch of space. I found clever ideas for making two separate food pantries out of otherwise unusable spaces in the kitchen. One is a floating pantry and the other is a roll out pantry next to the fridge. I also needed space to store odd shaped bake ware and items I don’t use every day. The perfect solution was to utilize the wasted space under the kitchen cabinets.
Normally this space is a hallow area covered by a wooden shield called a toe kick. It is usually set in from the face of the cabinet a few inches so you can stand right up to the cabinet and have space for your toes.
Under my cabinets is about 6 inches high by 24 inches deep of dead space.
I decided to build drawers under the cabinets but saved myself some time by using off the shelf IKEA drawers and rigging them with the IKEA toe kicks for their fronts.
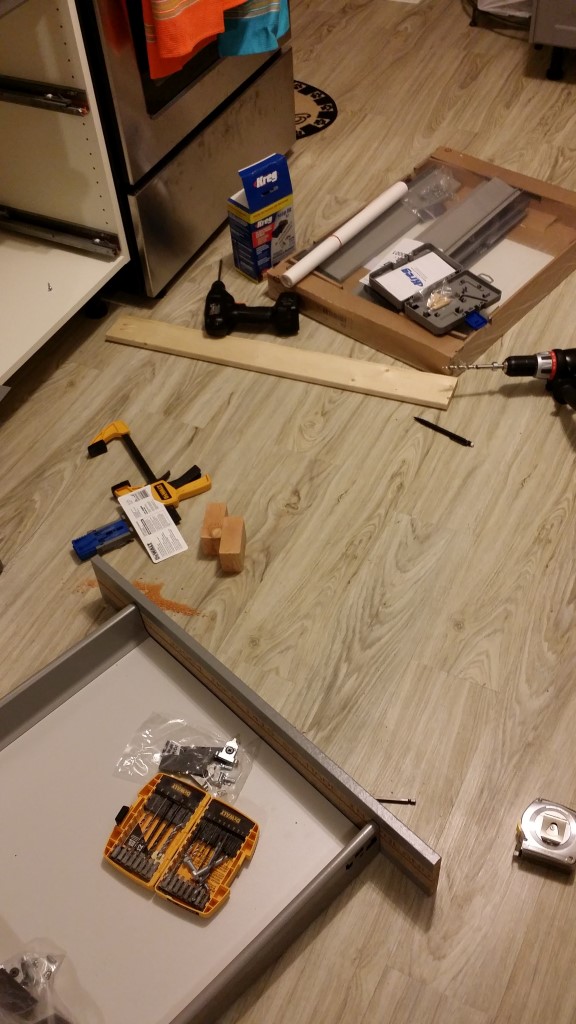
How I made the Under Cabinet Drawers
Since I couldn’t attach the drawer sliders to anything under the cabinet I needed to build a frame.
First step was to measure the width under each cabinet. Remember to measure between the legs of the cabinet or the cabinet supports and allow space for a 1 inch wide board. I went ahead and bought extra drawers from IKEA . They come with gliders. Each drawer was smaller in width than the drawer that would normally fit in the cabinet because of the extra room needed for the framing boards and the cabinet legs.
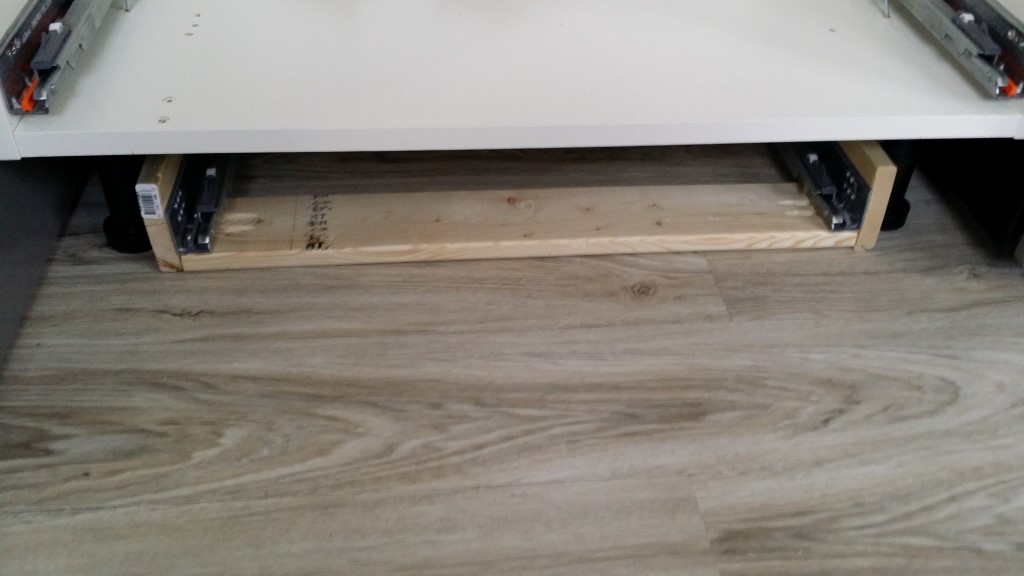
Next I assembled the drawers and dry fit the sliders. This way I could measure the total width of the drawer and sliders. I used this width to cut 1 board for the back of the drawer frame and 1 for the front to which I’d be mounting the drawer.
Then I dry fit the toe kick against the front of the cabinet legs and took a measurement from the back wall all the way to the inside of the toe kick. My measurement was about 20 inches. I used this measurement to cut the sides of the frame.
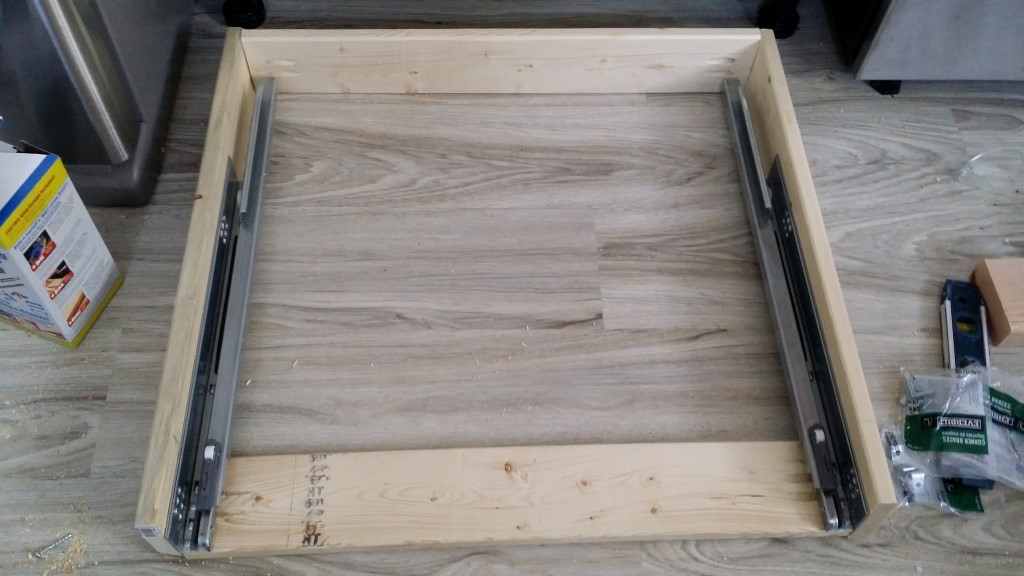
I glued and screwed the frame together using pocket holes. Note that the back part of the frame is between side pieces of wood. For the front part of the frame I attached the wood to the bottom to leave room for the drawer and give the frame nice support. You don’t want to attach it to the top of the frame because it would be in the way of items sticking slightly above the top of the drawer.
Next took measurements of the placement of the drawer gliders on my existing cabinet drawers. I transferred the measurement to the 3 sided frame.
Then I mounted the drawer gliders.
Next I placed each frame in their respective new homes and painted them. I used a small container of paint that I had the hardware store color match to the grey cabinet fronts.
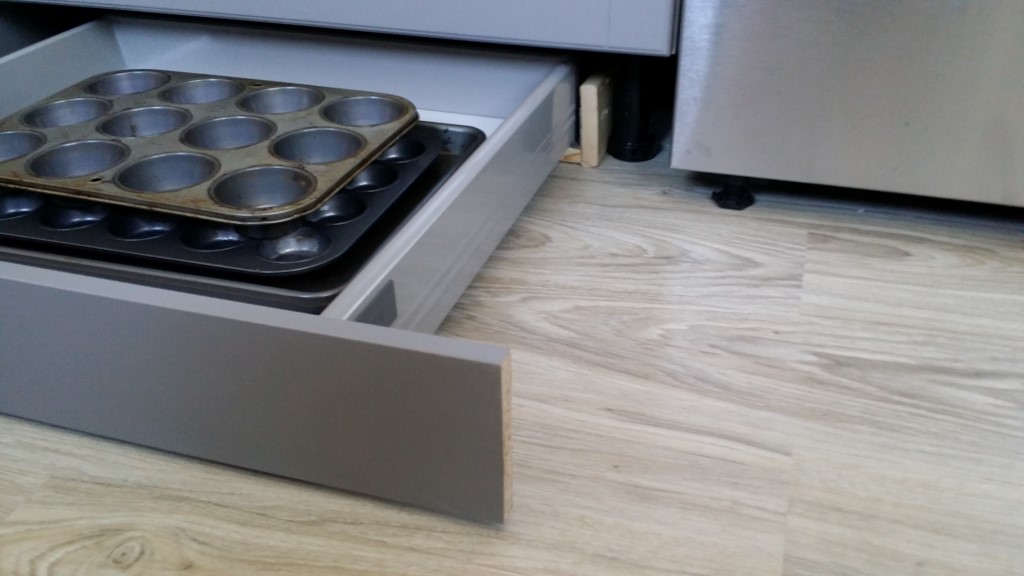
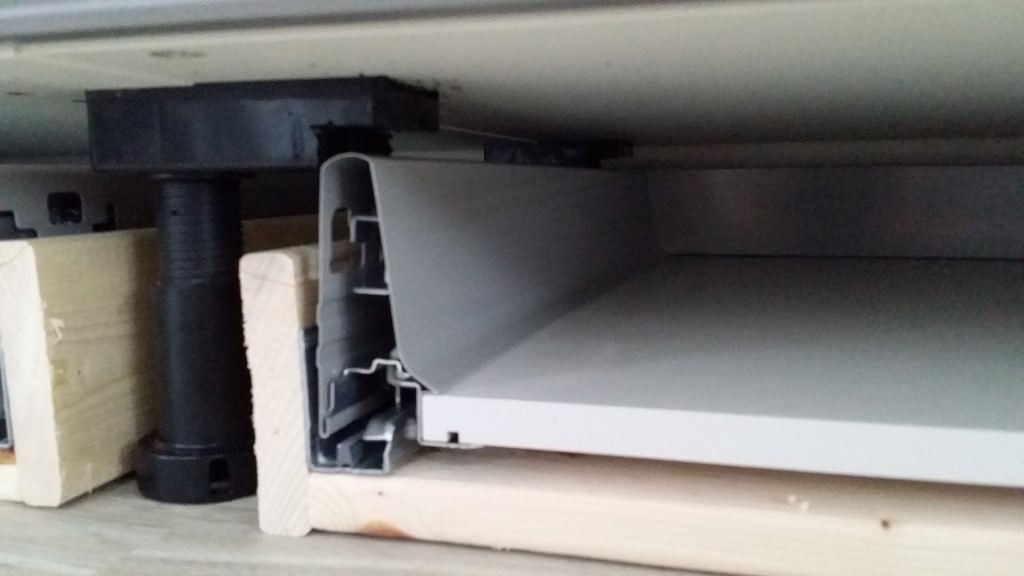
The frame rested on the floor with the back of the frame firm against the back wall and the sides snugly between the legs of the cabinets. I made adjustments because the drawer wouldn’t fit under the legs. The IKEA SEKTION legs I used have a part at the top that sticks out in which I did not originally account for in my measurement of the height of the wood frame.
I used shims to make minor adjustments to get all the drawer frames them level as necessary. A small level definitely came in handy.
I then installed all of the drawers.
I tested each drawer, sliding the drawer in and out.
To get the height placement for the drawer fronts I pulled the drawers all the way out and measured the height from the bottom of the drawer to the floor.
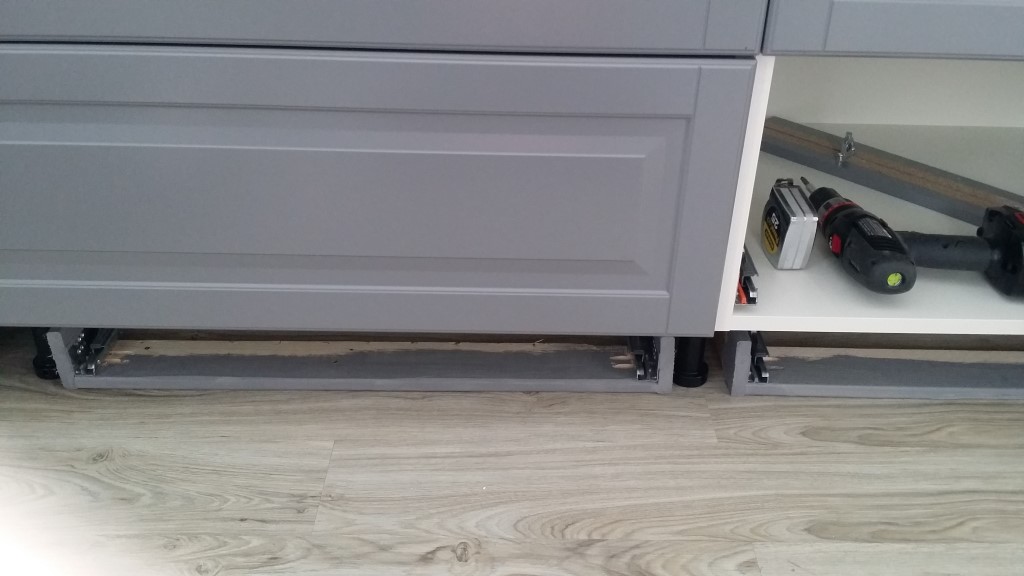
I did this for all 3 drawers and used the largest measurement for the placement of all the drawer fronts so they would all be even around the kitchen. I attached the toe kick drawer fonts according to the measurement.
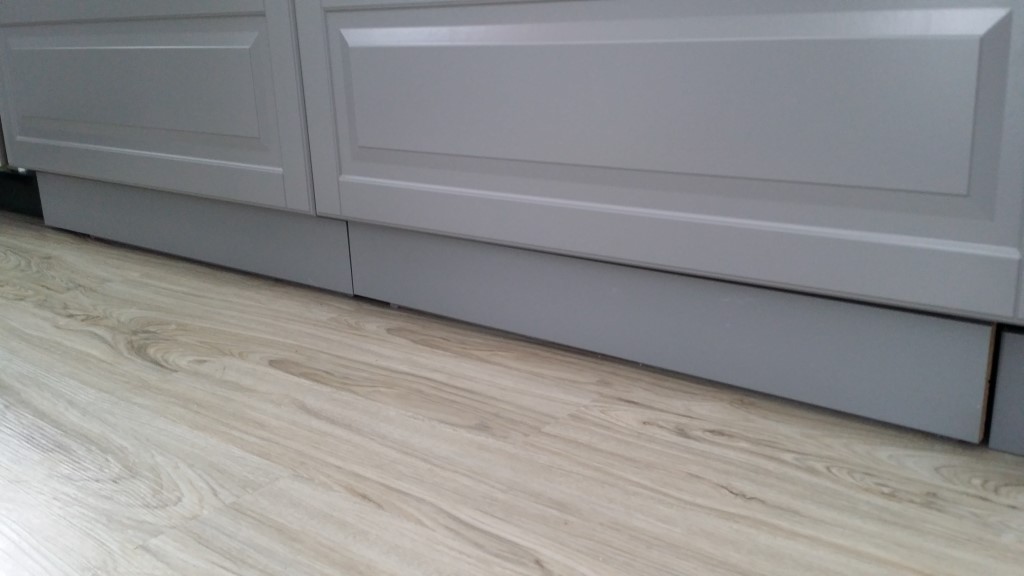
Note that I cut the fronts longer so they would extend beyond the sides of the drawer and almost touch the next drawer front in order to cover the cabinet legs. It looks as if I have one smooth toe kick instead of many drawer fronts with lots of gaps. I kept the gaps to about 1/16th of an inch wide!

My floors slope slightly so I have a small gap between the toe kick and the floor. But when the drawer is pulled out all the way it almost grazes the floor. The visual imperfection of the gap under the drawer front is a small price to pay for such an immense amount of added storage!
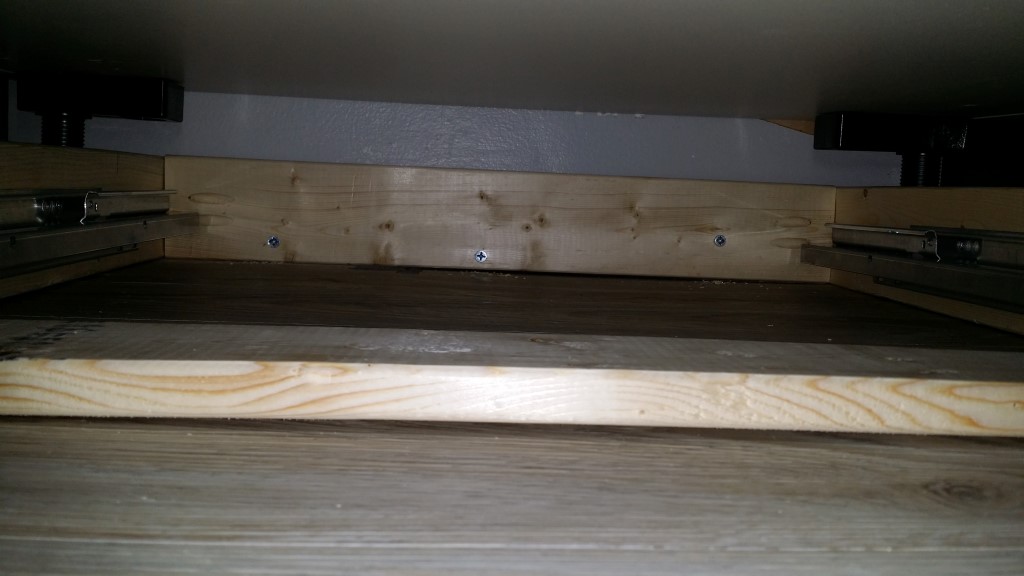
I removed the drawers without moving the frames! I clamped the frames to the cabinet legs and any way possible.
Since the drawer is resting entirely on the floor I decided to simply screw the frame directly to the back wall. I used a stud finder above the cabinets and transferred the stud location as best as I could to the underside of the cabinet by eyeballing it! The working space is so small so it was a bit difficult to be exact. I missed the studs a couple of times but I was able to adjust the screw location and get it right after a few tries.
I put all the drawers back in and retested the fit to make sure nothing had moved. I needed to make a slight adjustment on one frame so I removed the drawer and the screws holding it to the wall. I shimmed it up a little higher on one side and put the screw back in. I retested the drawer. Everything was lined up!

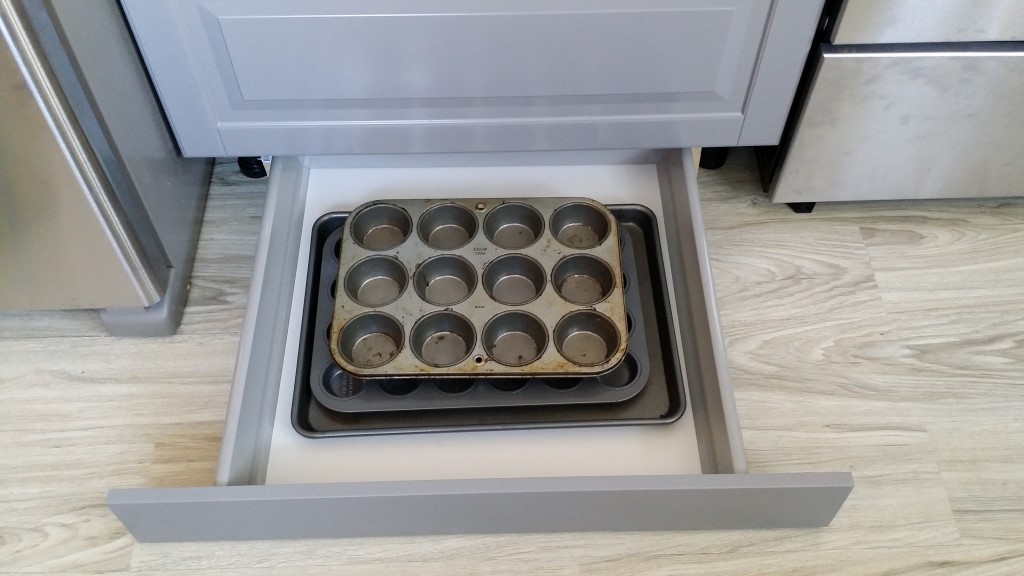
Next I filled the new drawers with skinny baking sheets, cutting boards, a bread pan, a spring form pan, an awkward tiered serving tray, and a whole set of glass bake ware! I made so much more storage room in the kitchen with these drawers, my hidden roll out pantry and my floating wall hanging pantry.
If you have a bigger budget and like the look you could go a step further and add handles or drawer pulls for a more whimsical look. For a sleeker look you could add push release hardware. These work by springing the door open after you push it in with your foot.
What I’ve Learned
This was a very challenging project for me because of all the measuring and test fitting. I had a different plan when I first started and I had to scrap it completely because it just wasn’t working.
My original idea was to build a wood frame for the drawers but attach it to the under side of the cabinets. Instead of resting the frame on the floor and screwing it to the back wall I was trying to put screws through the cabinet to hold it in place. The problem was that I couldn’t get a clamp in to hold it and I couldn’t get proper leverage. It was a frustrating learning experience. But once I thought of my aha moment the drawer hack went more smoothly.